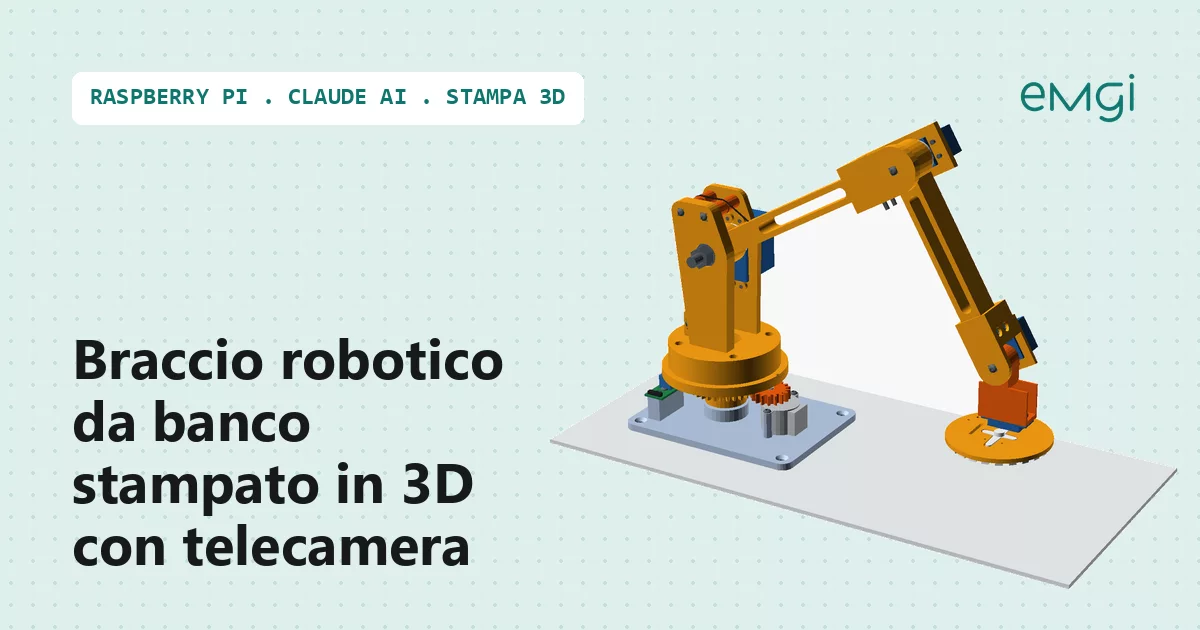
3D-printed bench robotic arm with camera, Raspberry Pi 4 and Claude AI control
📖 Full articles with step-by-step explanations (in Italian):
Bench robotic arm with camera, Raspberry Pi 4 and Claude AI - www.emgi.it (arm and display option)
Joystick controller for the robotic arm - www.emgi.it (controller option)More electronics, Arduino, ESP32, Home Assistant and 3D printing projects at www.emgi.it
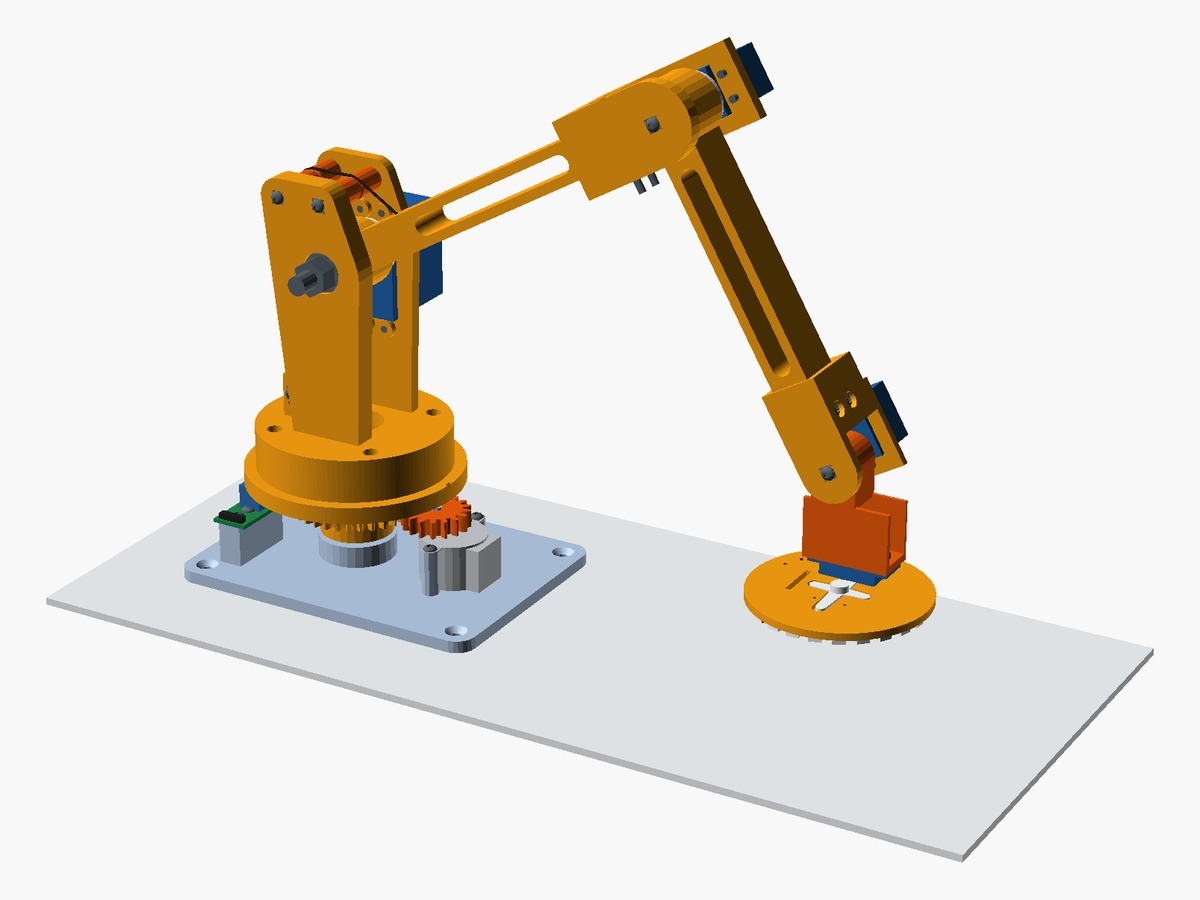
A five-axis arm printed in PETG that moves the 8 MP camera of a Raspberry Pi 4 over the workbench. It is controlled from a web page or by Claude AI, which through an MCP server can frame the bench, look at the photos and record videos. Two add-ons are optional: a 16×2 LCD status display and a controller with two joysticks.
The three parts
| Folder | What it contains | Needed? |
|---|---|---|
arm/ |
Arm, electronics box, Raspberry software (web page, MCP server for Claude, go2rtc, maintenance) | yes |
display/ |
16×2 I2C LCD display with BSS138 level shifter, printed box, display_lcd.py program |
optional |
controller/ |
Console with Arduino Nano, 2 KY-023 joysticks and 4 buttons, connected to the Pi over USB | optional |
Each folder has its own README with components, wiring, STL files, OpenSCAD sources, software, assembly guide (HTML page) and wiring diagram.
What it does
- five movements: rotating base (28BYJ-48 stepper with Hall sensor homing), shoulder and elbow (MG996R 180°), camera tilt and rotation (MG90S)
- servos driven by the PCA9685 over I2C: no jitter
- live video in the browser with arrow controls, ×8 digital zoom, photos up to 8 MP, MP4 video recording
- 24 WS2812B LED ring around the lens
- saved positions and calibration page
- MCP server for Claude: status, movements, light, photos, videos, positions, messages on the display; lockable joints
- go2rtc: H.264 video with the Pi hardware encoder, RTSP for VLC and Home Assistant
- maintenance: watchdog, daily backup (local + NAS), automatic security updates
Getting started
- Print and assemble the arm with the guide in
arm/docs/(download it and open it in the browser). - Wire the electronics following the diagram and install the software:
arm/software/README.txt. - If you like, add the display and/or the controller.
💡 You don't need to know how to program: ask Claude. Attach the files to a chat with Claude and ask for the procedures one step at a time: installation, testing, SSH key, MCP connection, NAS backup, go2rtc and Home Assistant. Personal data has been replaced by UPPERCASE placeholders (YOUR_USER, PI_IP, YOUR_WINDOWS_USER, NAS data).
The software runs on the author's arm with Italian names for files, API paths, configuration keys and MCP tools (e.g.
spalla= shoulder,gomito= elbow,rotazione= rotation,luce= light); comments, documentation and on-screen texts are in English.
Approximate cost of the arm €120-150: it depends on where you buy (Amazon, or AliExpress with duties on single orders or without duties with bundle offers).
Credits
- CamUI by James Mitchell - web interface for the camera
- go2rtc by Alexey Khit - stream conversion and distribution
License
- Code and configurations: MIT
- 3D models, diagrams, guides and images: CC BY-SA 4.0
Author: Massimiliano Sandrin - eMGi.it · Questions and comments below the articles on the website.