
Off The Cloud
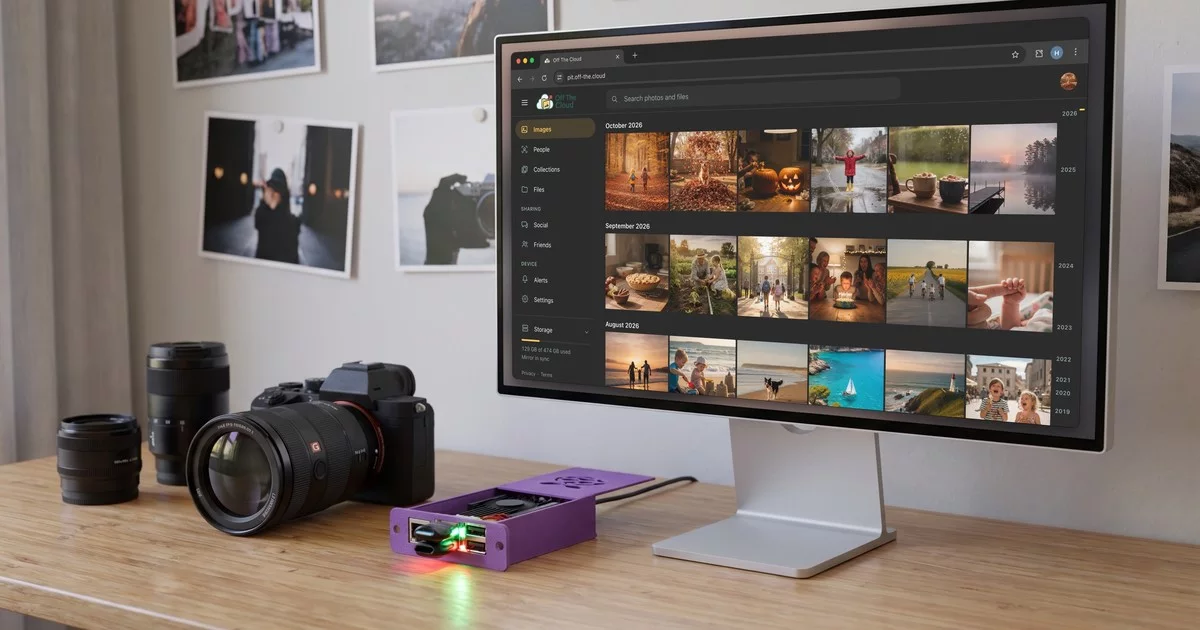
Off The Cloud is free, open-source software that gives your family its own private social network and home cloud on a Raspberry Pi 5: share photos and videos with the friends you accept, from device to device, back up every phone and keep your files in sync, instead of Instagram, Google Photos, iCloud, Google Drive or Dropbox. With iPhone, Android, Mac, Windows and Linux apps.
Website · Live demo · App Store (iPhone, iPad and Mac) · Google Play · otc-sync for Windows and Linux · Press kit
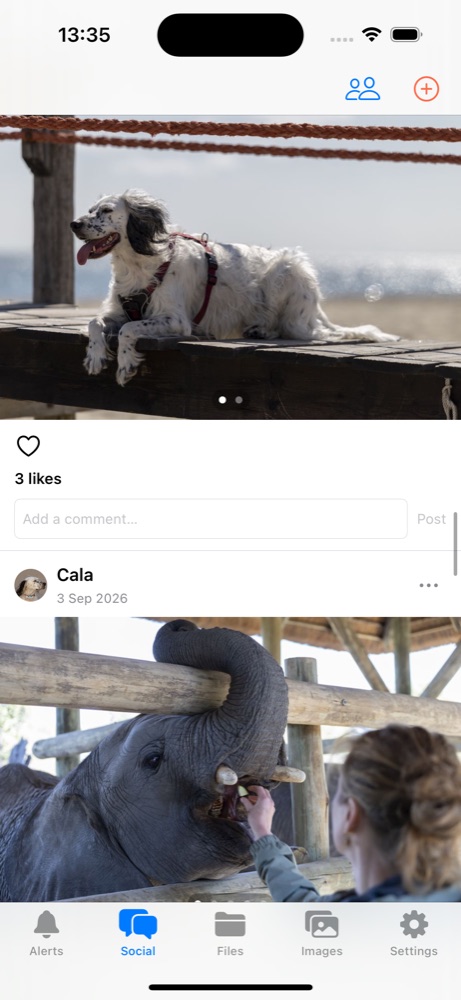
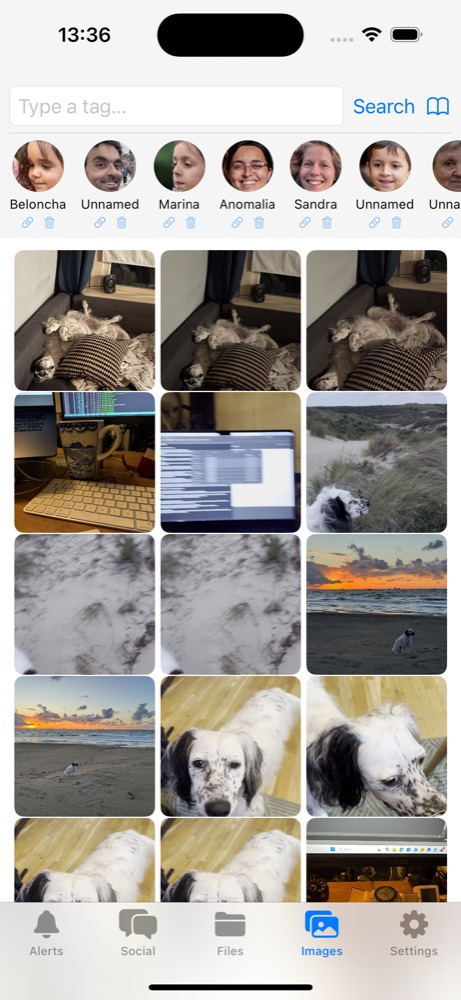
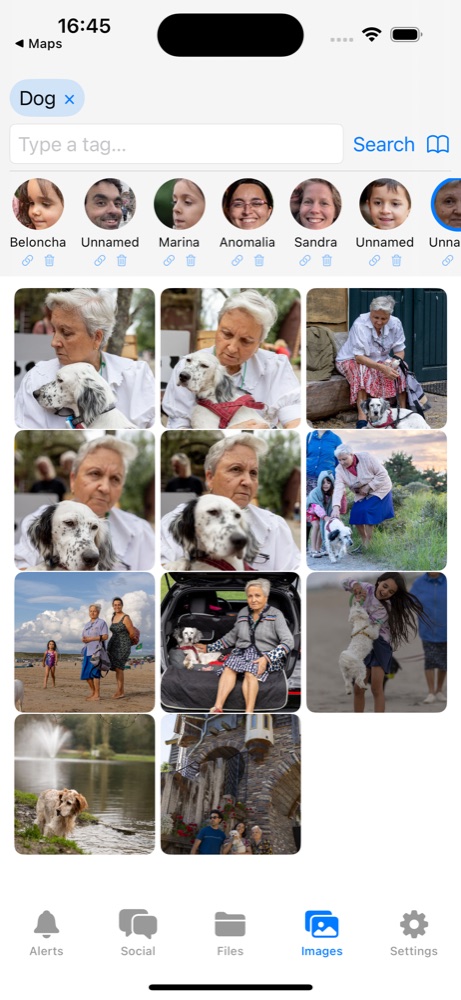
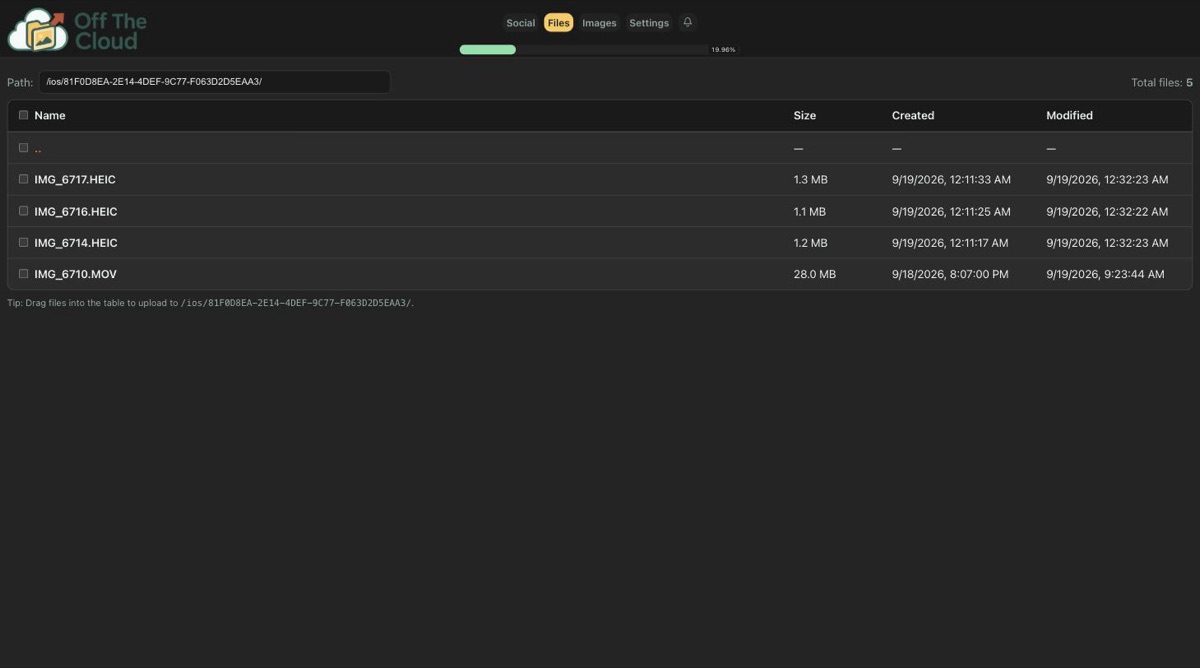
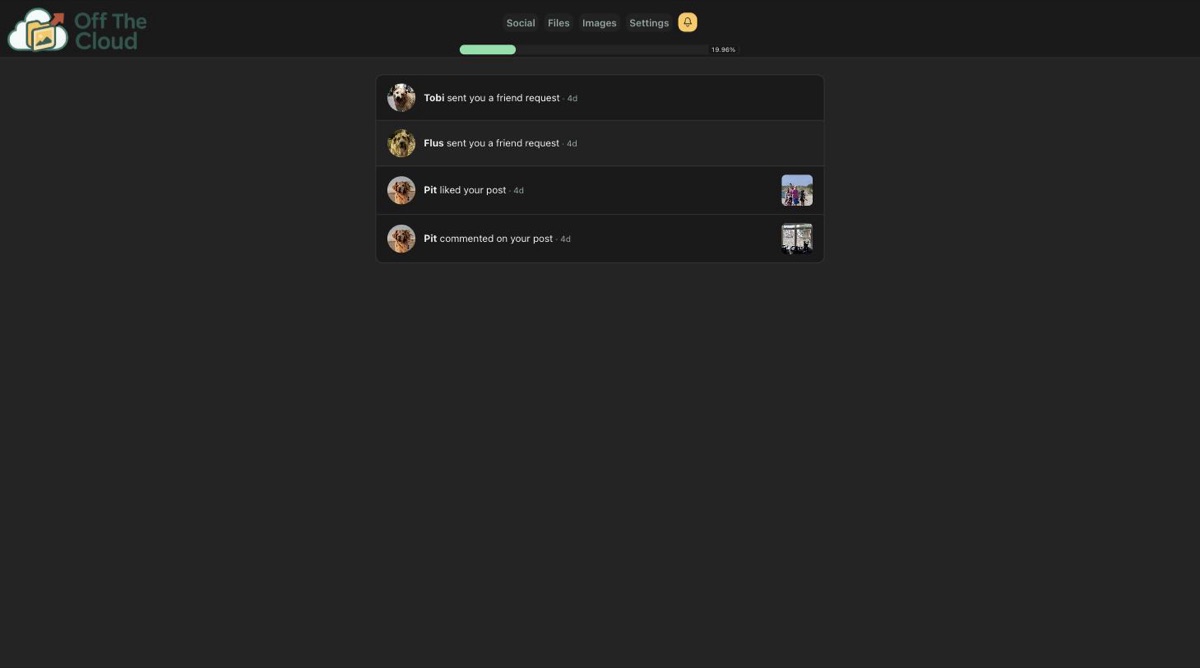
The social network is decentralised: each family's posts live on its own device, and friends' devices fetch them from each other, with comments, likes and notifications, newest first: no ads, no algorithm, no strangers, and no company server holding everyone's photos. The same device is a NAS for your files: the Mac, Windows and Linux apps keep folders on your computers in sync or backed up, and Files in the apps and the web app works like a drive, with share links and upload-only folders that keep earlier versions. The phone apps back up your photos and videos in the background, in full resolution. The device tags them itself, and recognises faces if you turn that on, so you can search for "beach" or "dog" without any photo being sent away to be analysed, and your files are encrypted at rest under a key only your password unlocks. The device also serves a web app for any browser. The apps are published: the Mac app on the Mac App Store since 2026-10-06, the Android app on Google Play since 2026-10-10 and the iPhone app on the App Store since 2026-10-21.
Off The Cloud (OTC) is hosted in your home using your network connection and inexpensive hardware, everything is designed to work on a Raspberry Pi 5 with 8GB of RAM (a 4GB one runs only with Image Tagging and Face Recognition turned off in Settings) and two USB drives in a RAID 1 configuration to store the data (USB sticks, SSDs, hard disks or MicroSD cards in USB card readers).
OTC is composed of five systems:
The "device"
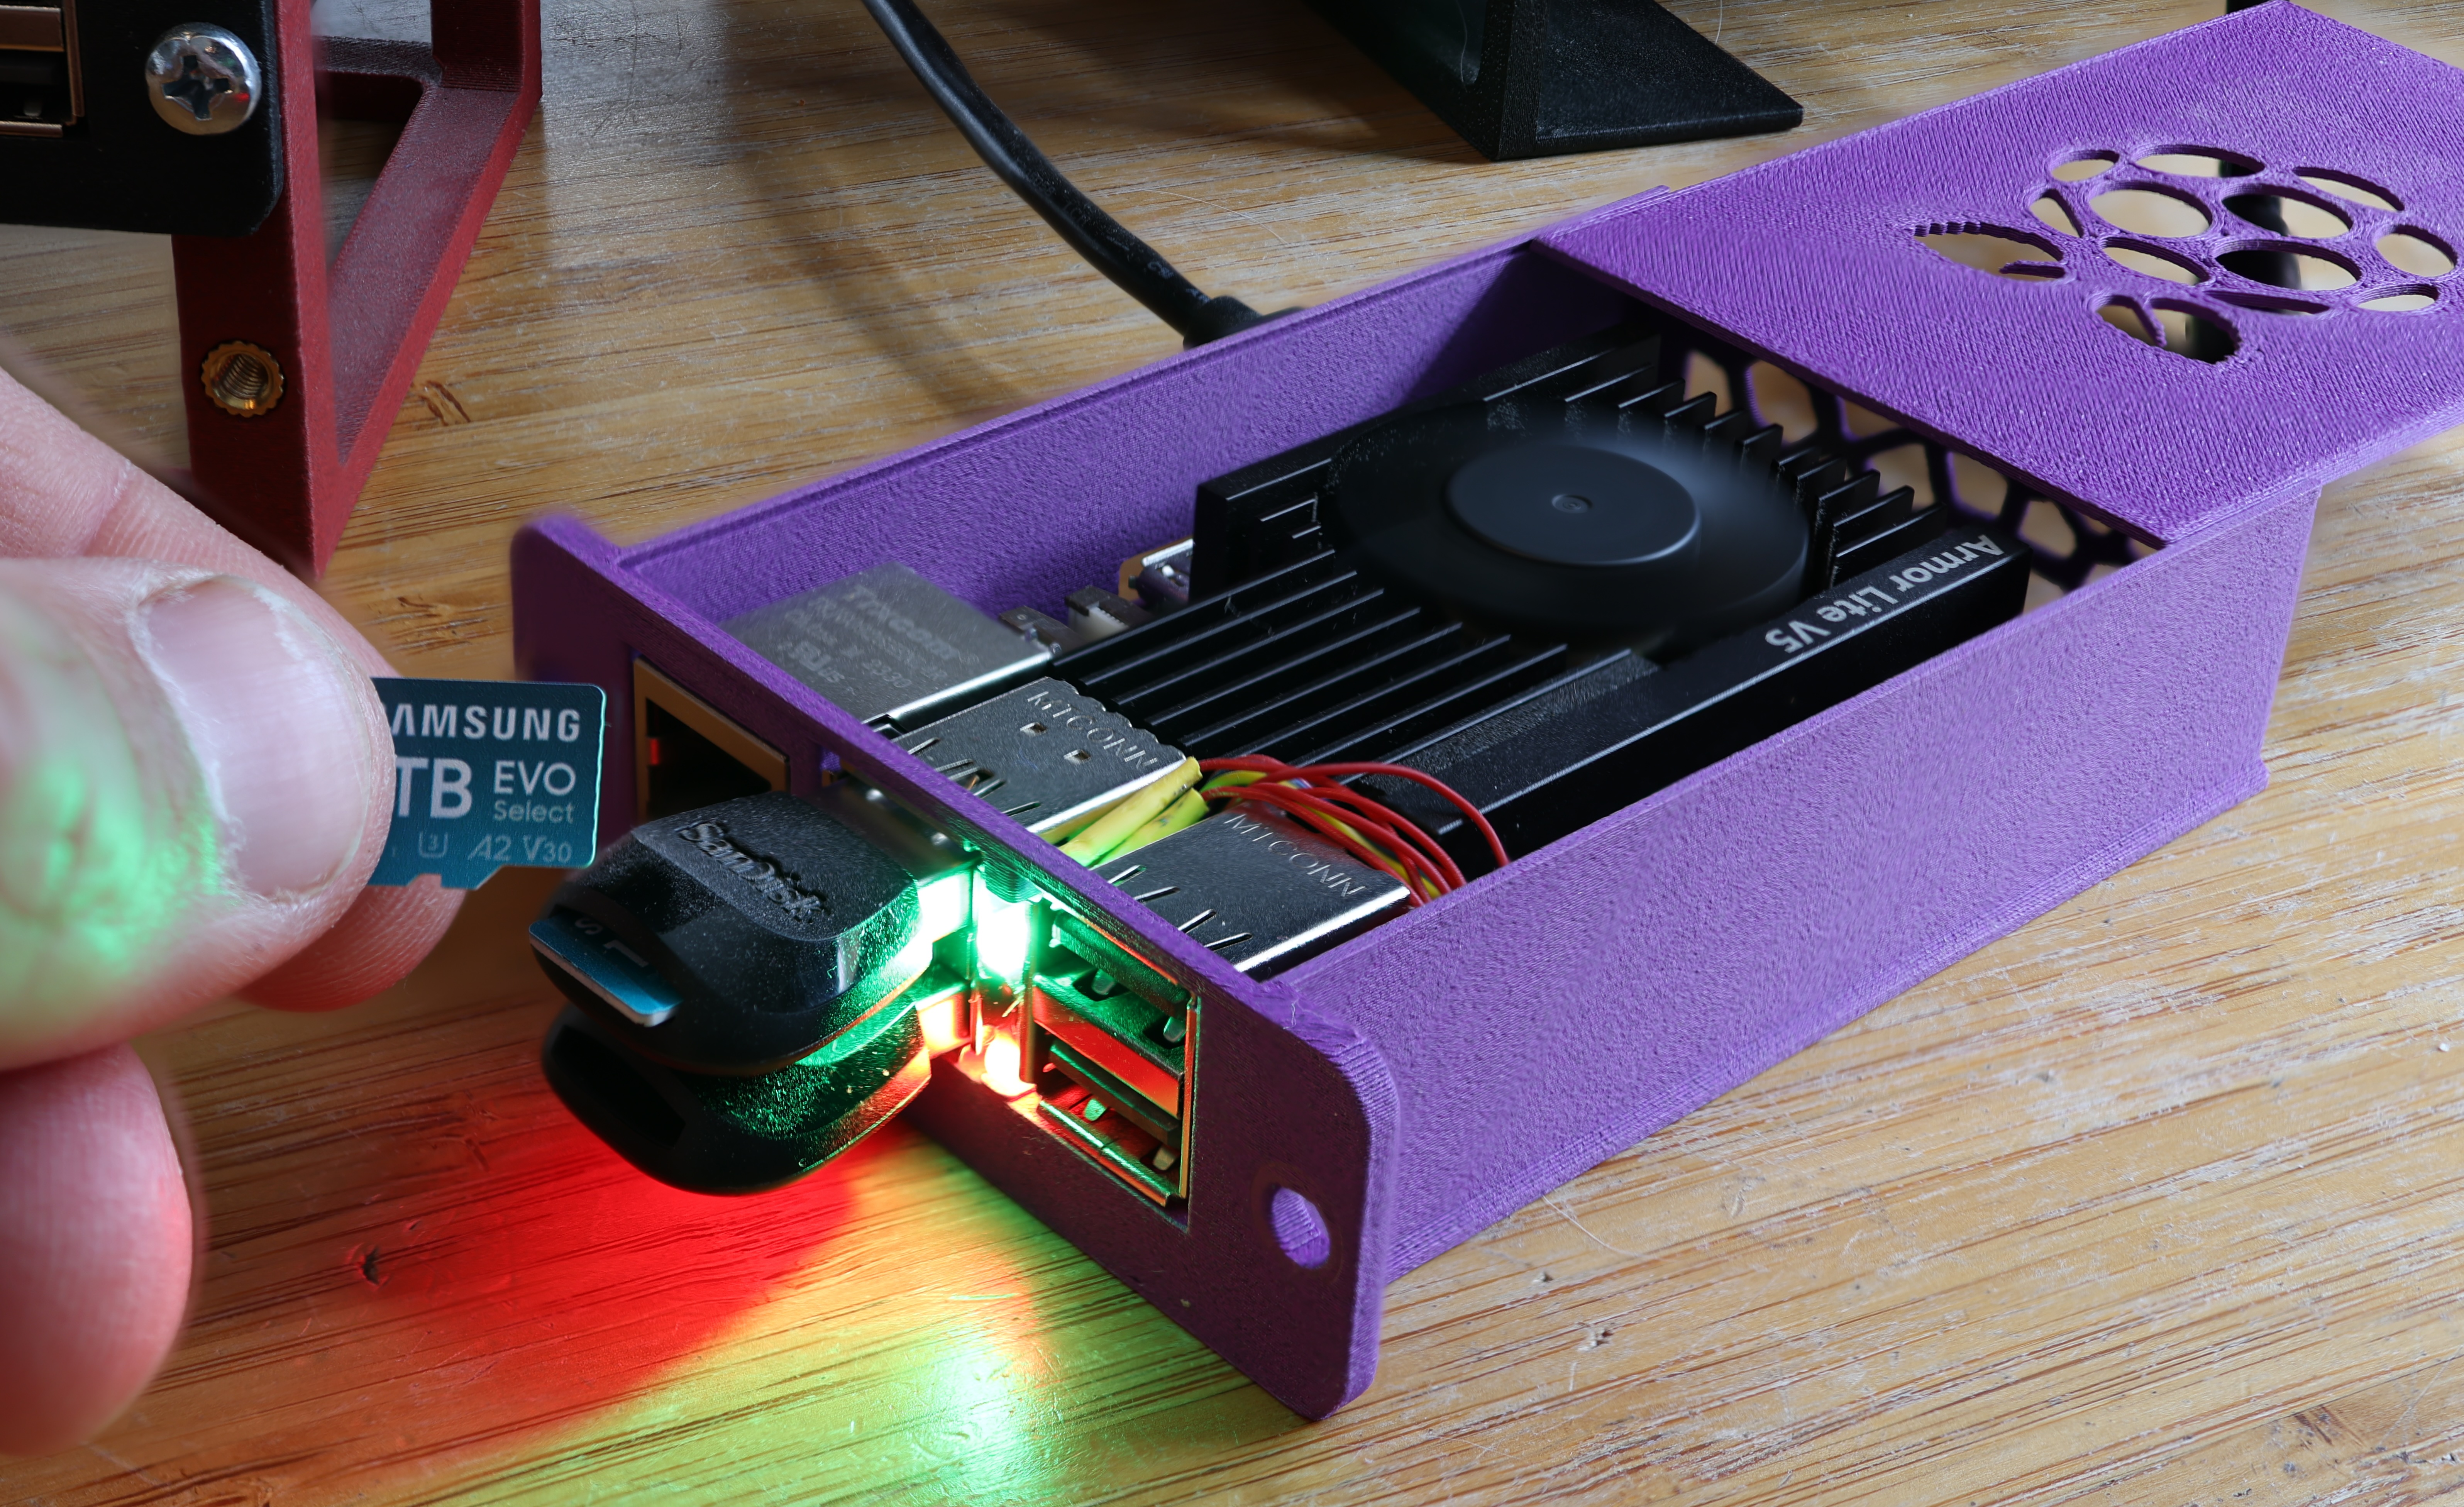
This is the Raspberry Pi 5 that stores all your data, on two USB drives mirrored as RAID 1 (in the photo, two microSD cards in USB card readers), with two optional status LEDs that show the mirror's health
The macOS app
A menu-bar app, on the Mac App Store, that keeps folders on your computer in sync with the device - watch local folders, or pull a remote folder down to a local one
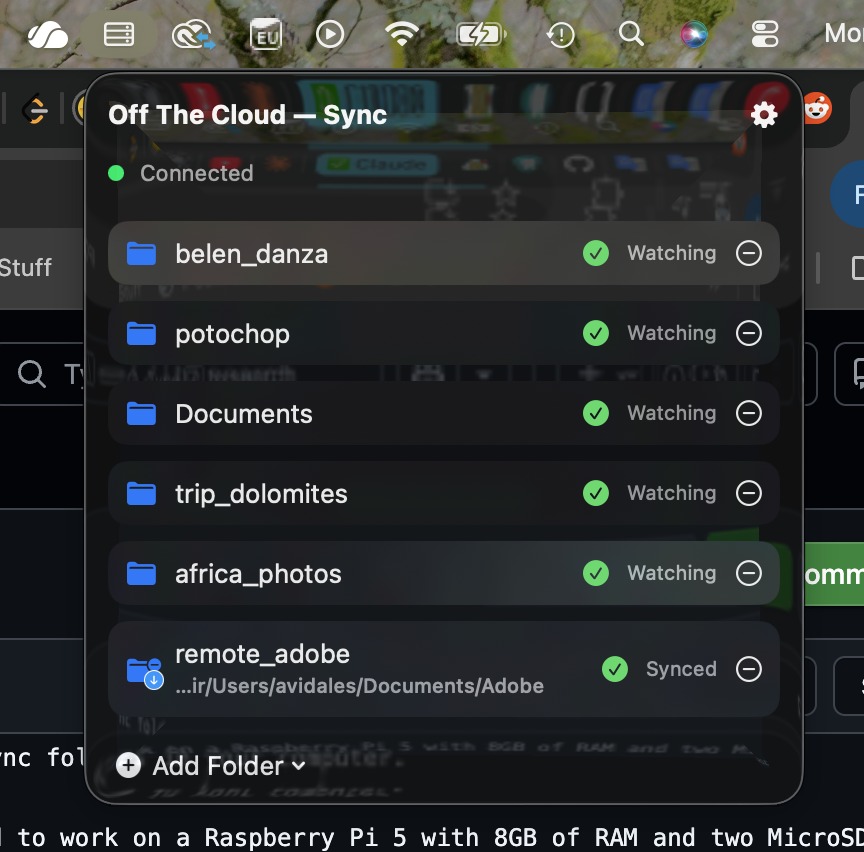
The Windows and Linux clients
The same sync client for Windows and Linux, otc-sync: a tray icon with the same menu (status,
the RAID's health as the icon's colour, "Open Web App" for your device's web app in the browser,
your folders, "Add Folder…" - the kind of folder, its options, then the folder - and settings),
plus a command line, and on Linux it can run as a service on a machine nobody logs into. Once
it has connected to your device it asks whether to start when you log in (nothing is set up
until you say yes; "Start at login" in the menu changes it later), and it updates itself: when
a new version is out, the menu shows
"⬆ Update otc-sync to …" and one click installs it (otc-sync update on the command line).
Updates are signed with the project's release key and checked before they are installed.
Download it from off-the.cloud or the
desktop release:
| System | File |
|---|---|
| Windows (Intel/AMD) | otc-sync-windows-amd64.exe |
| Windows (ARM) | otc-sync-windows-arm64.exe |
| Linux (Intel/AMD) | otc-sync-linux-amd64 |
| Linux (ARM, e.g. a Raspberry Pi) | otc-sync-linux-arm64 |
Setting up a new device: "Set Up a New Device…" in the tray menu (or otc-sync flash in a
terminal) downloads the device image, checks its signature, writes it to an SD card (it asks for
administrator permission and lists only cards and removable disks), verifies the card and deletes
the download. The Mac app has the same wizard and uses Raspberry Pi Imager to write the card.
Windows: run the .exe once; it appears in the tray and asks for your device and password,
and once connected, whether to start at login ("Start at Login" / "Not Now"). Keep it somewhere
permanent (not Downloads), since that path is what starts at login.
Linux, with a desktop:
install -Dm755 otc-sync-linux-amd64 ~/.local/bin/otc-sync   # yours, so it can update itself
otc-sync            # the tray app; once connected it asks whether to start at login (~/.config/autostart)
Linux, command line and service (a server, a Pi, a box with no desktop):
otc-sync settings --name cala --password-prompt   # or --address ws://192.168.1.10:8080/ws
otc-sync add ~/Documents                          # two-way sync of a folder from this computer
otc-sync add --upload-only ~/Projects             # the same, but nothing in it is ever deleted on the device
otc-sync add-remote /Photos ~/Photos              # two-way sync with a device folder (no options)
otc-sync backup --keep-out-of-images ~/Scans      # backed up, but kept out of Images
otc-sync images <id> keep-out|show                # keep a synced folder out of Images, or show it again
otc-sync ls /                                     # browse the device
otc-sync open                                     # the device's web app in the browser (prints its address)
otc-sync service install                          # run as a systemd user service, from boot
otc-sync status                                   # what it is doing
otc-sync folders | remove <id> | service uninstall | autostart on|off|status
Adding a folder takes two steps in the Mac app and the tray: first the kind of folder (a backup of a folder on this computer, a two-way sync of one, or a two-way sync of a folder already on the device), then the options that kind has, and only then the folder itself. A folder from this computer can be:
- Upload only (two-way folders; a backup always is): the device keeps every older version of a
file, and nothing in the folder can be deleted on the device. A file you delete on this
computer stays on the device and isn't downloaded again; files added or changed on the device
still come down. Turn it off later with the lock on the folder in Files (web app, phone app);
the files you deleted on this computer while it was on then come back to it. Until the device
has made the folder upload only (an older device does it once it is updated), nothing deleted
on this computer is deleted on the device. On the command line:
otc-sync add --upload-only. - Kept out of Images: its photos and videos still go to the device and show in Files, but they
aren't tagged, searched for faces or shown in Images. You can change it later from the folder's
row on the Mac (the eye), its menu in the tray, or
otc-sync images. On the command line:--keep-out-of-imagesonbackupandadd.
A folder synced from the device has no options: it keeps what is set for it on the device. The tray asks the options in one checklist on Linux, and one Yes / No / Cancel question each on Windows (its dialogs have no checkboxes). A device that hasn't been updated yet does them once it is.
Only one process syncs at a time: with the service installed, the tray app becomes a viewer of
it, and every change made from the tray or the command line is picked up by the service at once.
The password goes to the OS keyring (Windows Credential Manager, the Secret Service on a Linux
desktop); without one, to a file only your user can read under ~/.config/otc-sync/
(OTC_SYNC_NO_KEYRING=1 forces that, for a service that has to start before the keyring is
unlocked). Folders land on the device under /windows/<computer>/… and /linux/<computer>/…,
like the Mac's /mac/<computer>/….
At home it doesn't go through off-the.cloud. Once signed in there, it asks the device for its home-network address and the fingerprint of the device's own certificate, and from then on tries that address first, over TLS that accepts only that certificate; the bridge is used when the device doesn't answer at home within a few seconds. The status line says which: "Connected over your home network" or "Connected through off-the.cloud".
The iOS/Android app
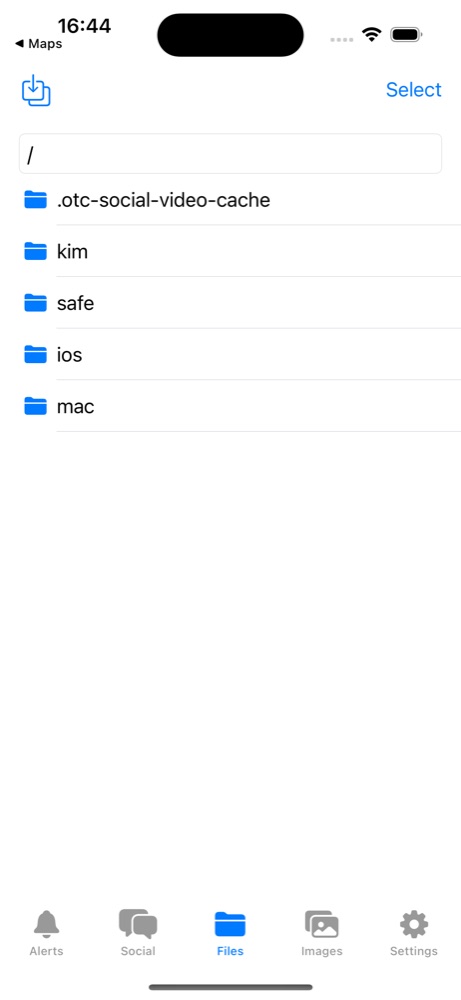
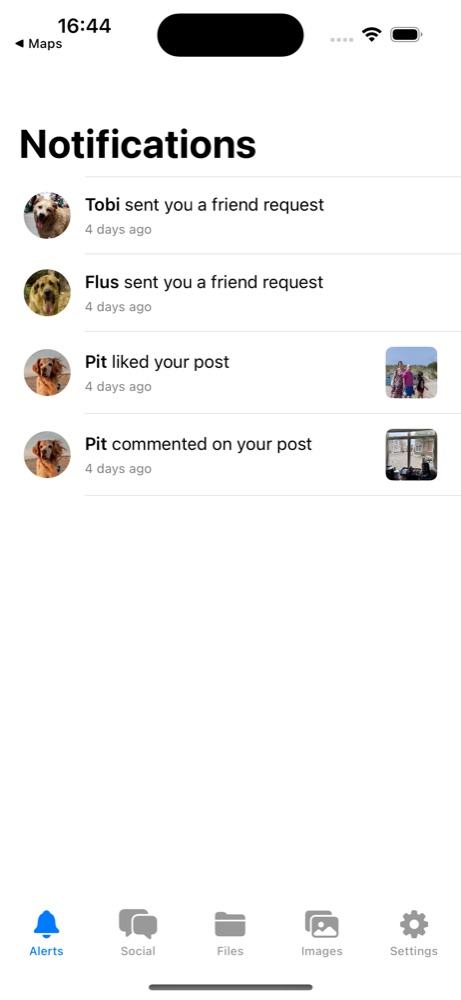
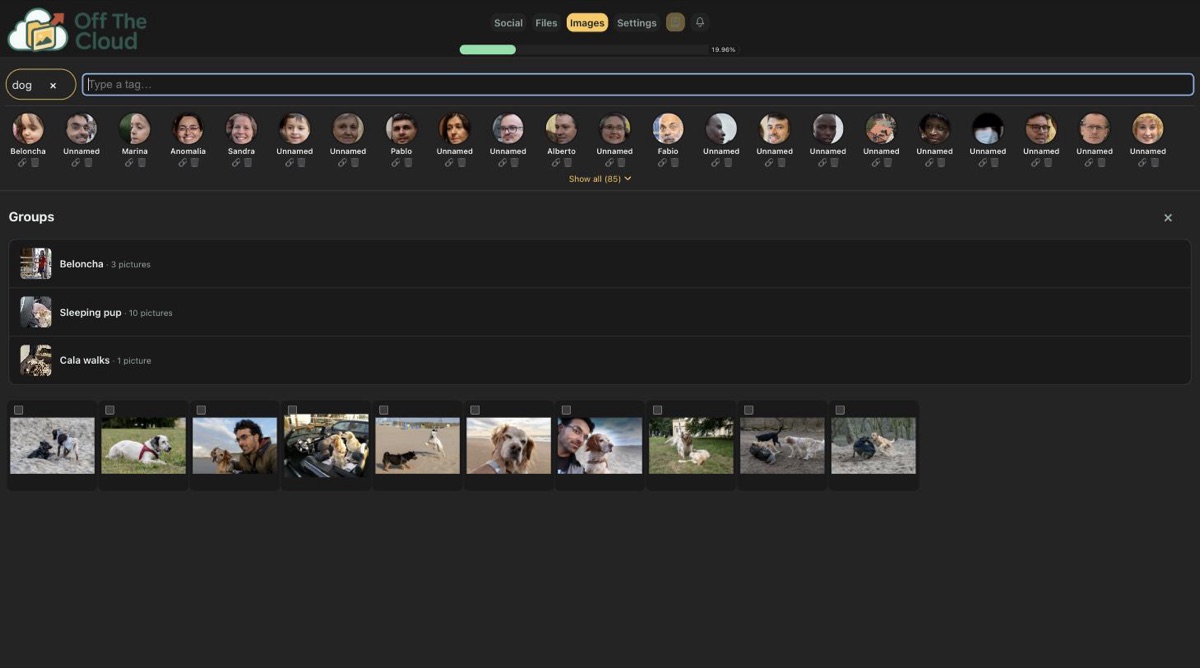
On the App Store for iPhone and iPad, and on Google Play. This is used to access all the data, sync photos and documents from your mobile device, Social Network app and much more
The Web app
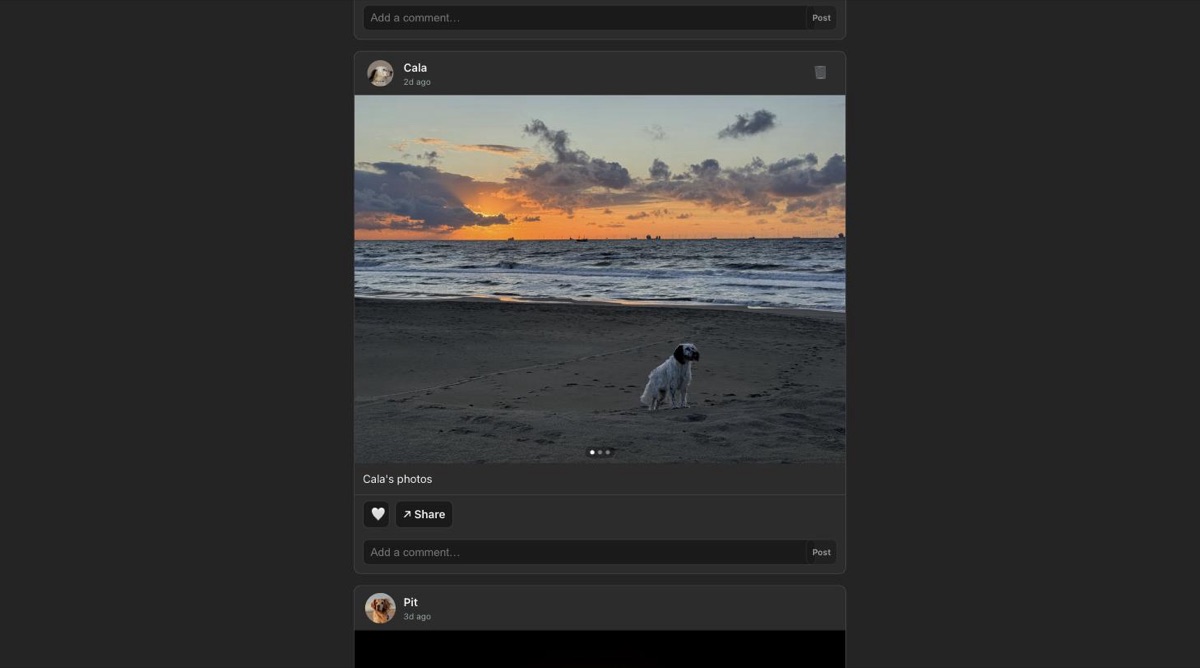
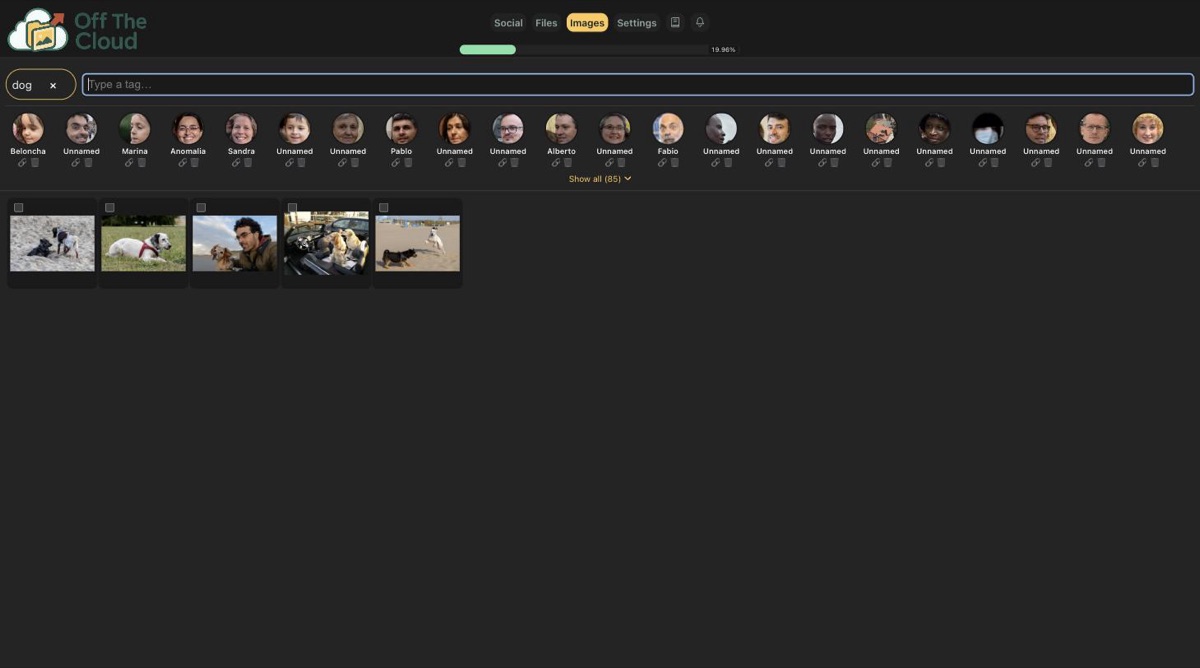
With this you can access all your data and social network from any browser just with your password
Recommended Hardware
- 1x Raspberry Pi 5 with 8GB of RAM. 8GB is recommended. A 4GB one can run only with Image Tagging and Face Recognition turned off in Settings - turn both off before backing up your photos, or it runs out of memory and restarts; it also has room for one extra user at most.
- 2x USB drives of the same size for storage (USB sticks, SSDs, hard disks, or MicroSD cards in USB card readers), plugged into the Pi 5's two blue (USB 3) ports: they are the fast ones, and if a drive fails the device tells you which port it is in (top or bottom)
- 1x MicroSD card to host the OS in the RaspberryPi
- 1x Power Supply (Use something of at least 27W since the consumption is quite high when processing images)
- 1x Active Cooler
Installation of the device
There are four ways to set up a device, from least to most work: flash the pre-built image (a
Raspberry Pi 5 with 8 GB of RAM, or 4 GB with Image Tagging and Face Recognition turned off - no keyboard, monitor or Linux knowledge needed, RAID1
included), run the one-line install script against a machine you already have login access to
(Ubuntu, Debian, Raspberry Pi OS or another Debian-based 64-bit distro - no flashing, RAID1 and the
status LEDs included, no WiFi setup), run Makefile.pi against a plain Raspberry Pi OS install (if
you want to build from source), or follow the manual steps yourself.
Option 0: One-line install script (any Debian/Ubuntu machine)
Already have a Debian/Ubuntu-family Linux box you can log into (Ubuntu, Debian or Raspberry Pi OS, 64-bit - a Raspberry Pi, an old laptop, a VPS)? Skip flashing anything - log in and run (on Debian 12, Ubuntu 24.04, Linux Mint 22 and others whose OpenCV is older than 4.10, it first builds OpenCV itself, which adds 5 to 30 minutes):
$ curl -fsSL https://raw.githubusercontent.com/alonsovidales/otc/main/scripts/verified-install.sh | sudo bash -s -- <subdomain>
<subdomain> is this device's bridge address, e.g. pit for pit.off-the.cloud - omit it and the
script prompts for one. On the off-the.cloud bridge the name has to belong to an account: register it
first, as Bridge accounts explains, or install with OTC_BRIDGE_ADDR="" for a
device on your home network only. It installs MariaDB, a native Go toolchain, ONNX Runtime, the RAM++ tagging
model, and builds the otc binary from source right there, then writes the database schema, app
config, and a systemd service - the same bring-up Makefile.pi automates over SSH from a separate
dev machine, just run directly on the device itself with no cross-compiling or second computer
needed. It's safe to re-run any time (e.g. to pick up new code) - device identity (UUID, DB
password, bridge secret) is only ever generated once, on the first run.
Storage is a RAID1 mirror of two disks by default, OTC_DISK1/OTC_DISK2 (/dev/sda and
/dev/sdb unless you set them). An existing array on them is reassembled, never wiped - which is
how a machine re-installed with its old disks gets everything back. Two new disks are only erased
and mirrored when you confirm it with OTC_RAID_CONFIRM_WIPE=yes; without that, or with no disks
to mirror, the script stops at the storage step, before touching any disk, and says what to do. OTC_SKIP_RAID=1
installs on a single disk instead (the storage is then a plain directory on the system disk). The
script also installs the RAID status-LED watcher (raid-watch.service): on a Raspberry Pi it
drives the two LEDs wired as in step 4 of Option 3, and elsewhere it runs without lights. For
example, for two blank disks:
$ curl -fsSL https://raw.githubusercontent.com/alonsovidales/otc/main/scripts/verified-install.sh | sudo OTC_RAID_CONFIRM_WIPE=yes bash -s -- <subdomain>
The script leaves the machine's SSH settings as they are, so you keep logging in the way you do
now. (Releases 59 to 136 turned off password and root logins over SSH on every install; if that
locked you out, log in at the console or with a key and delete
/etc/ssh/sshd_config.d/01-otc-keys-only.conf. Only devices made from the image below keep it,
because their console account has a published password.)
What this path doesn't set up is the image's first-boot setup over Bluetooth: it assumes a machine you already have network/login access to. For a Raspberry Pi from scratch, the pre-built image below handles everything from a first boot with nothing pre-configured.
Option 1: Flash the pre-built image (easiest - Raspberry Pi 5, 8 GB of RAM recommended)
Use the official Raspberry Pi 27 W USB-C power supply (or a better one): a Pi 5 on a weaker
supply, with USB disks attached, can restart or hang from low voltage while it processes photos.
The image is for a Raspberry Pi 5 with 8 GB of RAM (the tagging model and the build from
source need the memory); a 4 GB one can run only with Image Tagging and Face Recognition turned
off in Settings (turn both off before backing up photos), and has room for one extra user at most. It is a stock Raspberry Pi OS Lite with a first-boot setup wizard on
it and nothing else (about 530 MB). The wizard asks for your WiFi, the device's name and its disks, then installs the
current software with the same install.sh as Option 0, showing its progress - so there is never
an "old image": whatever you flash installs today's release.
- Download off-the-cloud-rpi-lite-arm64.img.xz
(the
.sha256next to it lets you check the download withshasum -a 256 -c). - Flash it to a MicroSD card with Raspberry Pi Imager: choose
"Use custom", pick the downloaded
.img.xzfile, select your card, and write. Don't use Imager's ownCustomisationstep - the wizard handles WiFi and identity itself. - Plug in the USB disks you want to use (two for RAID1) into the two blue USB ports, put the card in the Pi and power it on. After a minute it announces itself over Bluetooth. Set it up from your phone with the app (iOS or Android): on the welcome screen tap Set up a new device. The app finds the Pi over Bluetooth and runs the wizard right there; your phone stays on its own WiFi. Already signed into another device? Log out first, in Settings - the app then belongs to the device you set up. Setup is over Bluetooth only: the wizard isn't reachable from the network, and once a phone has connected to the Pi for setup, no other phone can.
- The wizard walks through five steps:
- WiFi: pick your network (the list fills in by itself) and enter its password - 2.4 or 5 GHz. Wired into your router instead? Skip it. You can change it later in Settings > Wi-Fi.
- Storage: the disks it found, with sizes. Pick two to mirror them as RAID1 (both are wiped), or none to keep everything on the SD card for now.
- Account: sign in to your bridge account or create one, or type a setup code from the account page; "Continue without an account" sets the device up for your home network only (see Bridge accounts).
- Name and password: the device's
<name>.off-the.cloudaddress, checked as you type and reserved on the bridge the moment you continue, and the device's password (twice, 8 characters or more). The password encrypts your files on the device (see What is encrypted on the device) and can't be recovered; the app encrypts it before it leaves your phone, and the install sets it. A recovered device keeps the password it had. - Install: a progress bar over the install script's steps, with what it is doing under it
and the log one tap away. This takes a while on a Pi - it downloads the tagging model and
builds the software from source - about 20 minutes. You can close the app meanwhile; when the
installation is complete, open
https://<name>.off-the.cloudfrom any network.
- When it finishes, the wizard waits until the bridge sees the device connected, then shows its
address,
https://<name>.off-the.cloud. Tap Open my device and the app signs in with the password you chose. Then y